Grav-lift battle tactics
Posted May 17th 2026, updated later
Associated movies
- BCM633 - Heroic; Extra Marines in the grav-lift battle (6:52)
- BCM634 - Legendary; Grav-lift battle x2 with ten Marines (7:34)
- BCM635 - Legendary; Grav-lift battle x2 with ten Marines (7:54)
- BCM636 - Legendary; Grav-lift battle x2 with ten Marines (7:51)
- BCM637 - Legendary; Grav-lift battle x2 with ten Marines (7:57)
- BCM638 - Legendary; Grav-lift battle x2 with ten Marines (7:37)
- BCM639 - Legendary; Grav-lift battle x2 with ten Marines (7:43)
- BCM641 - Legendary; Grav-lift battle x2 with ten Marines (8:36)
- BCM642 - Legendary; Grav-lift battle x2 with ten Marines (7:42)
- BCM643 - Legendary; Grav-lift battle x2 with ten Marines (7:45)
- BCM644 - Legendary; Grav-lift battle x2 with ten Marines (8:04)
- BCM645 - Legendary; Grav-lift battle x2 with ten Marines (7:29)
- BCM646 - Legendary; Grav-lift battle x2 with ten Marines (8:06)
- BCM647 - Legendary; Grav-lift battle, mid-air tagging and other amusements (8:08)
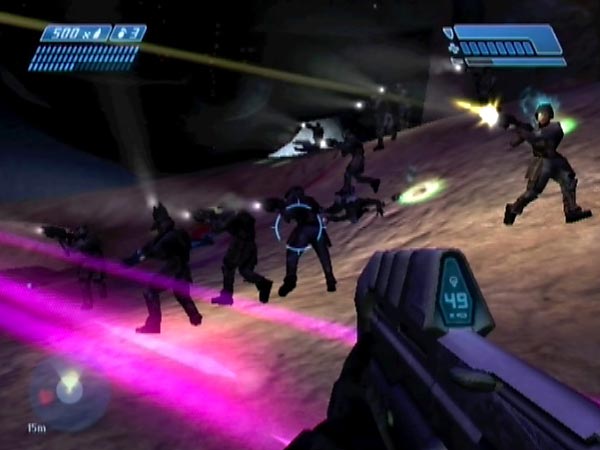
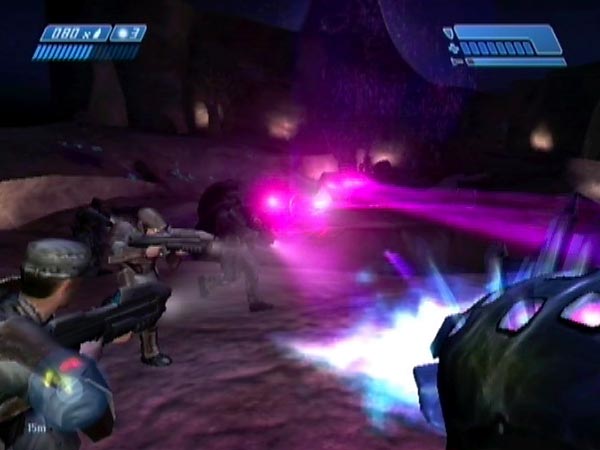
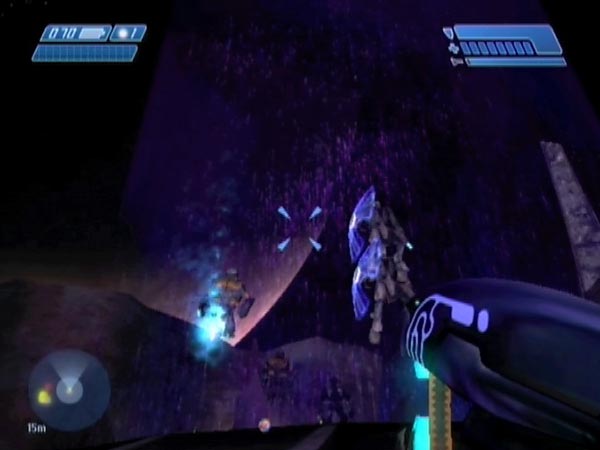
When it comes to the grav-lift battle which you need to fight before boarding the covie ship, one thing you can do is make sure to get extra Marines to help (see pic), and another is to make sure you brought five healthy Marines along, making an excellent squad of ten. And I must say, fighting the battle on Legendary with ten Marines is just tremendous. It was quite a revelation when I got into it after making my 'extra Marines' tutorial BCM633. The opposition is really meaty and there are so many ways of tackling things, a fact reflected by the number of battle movies I've released since then!
But whether you've got a boosted squad or not, how do you actually tackle the incoming waves? In this article I'll lay out some ideas. Originally I had most of this talk in that 'extra Marines' article, but it wasn't actually part of that trick, so I've finally separated it out to this new article, also going into more depth and adding a Shade tactic and other things - including pictures!
A few things about the battle
Just to mention in advance, each of the main waves (i.e. prior to the Hunters) comprises 1 Elite, 2 Jackals and 3 Grunts. On Legendary you get eight main waves, which amounts to 48 covies! Quite a marathon, and possibly a strain on your reserves of sniper ammo if that's what you're basing your defence on. With all the other difficulty levels you only get four main waves, which for Heroic I must say I find rather weak.
Something useful to know: each main wave gets triggered when the enemy count in the area drops below two (unless it's the dropship that gets triggered, which usually comes before all the waves). You can use that to control when the next wave spawns.
A further thing worth mentioning is the oddity that in the whole battle (not including the passage guards, although they can fall back a short way into the area if you avoid killing them), all Elites encountered are blue (sometimes having a needler), all Jackals are blue-shielded, and all Grunts are orange. In other words you only get the weak versions of these foe types. Very surprising. I'm not sure there's any other area with that character in the whole game.
Glorious sniping
There's glorious potential for sniping in this battle. In fact I'd say it's the best such naturally occurring scenario in the whole game. A favourite tactic of mine is to stand somewhere I can snipe enemies the moment they come down. Sometimes you can get them while they're still in the air - a nice challenge! I'll typically have a plasma rifle as backup, for toasting any enemies that get too close.
Often I'll be up on a rock so the Marines don't get in my line of fire, though mixing in among the Marines on the ground can also be fun. There's a good rock up on the right, just past where an Elite was patrolling; I've used that a lot and it features in BCM641. Rocks on the low ground near the area entrance are also good fun; you get a dramatic low view of enemies on the grav-lift, and quite often they stand around having failed to spot you. See BCM637 for a battle in which I use that area, though in that particular case I'm on the ground, moving around a bit.
A favourite old vantage point is up on the high ground on your immediate left as you enter the area, where a Shade is often located. You can see this place used in BCM634. Stand on the edge to avoid Marines getting in the way, and you've got an excellent view. In addition, you can always jump down and retreat back to the safety of the passage if the situation goes bad.
Another nice spot near the entrance is up in a tree, namely the one you can easily jump into from the raised ground on the right. You can see me using that in BCM644. Great view of the grav-lift, and the Marines will take up station in the relatively open ground below and to your left.
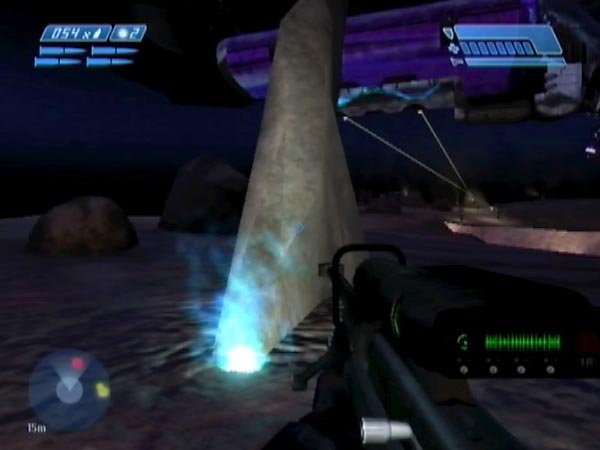
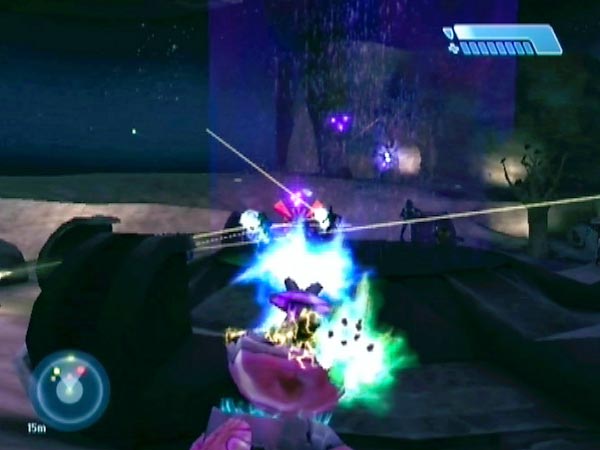
To mention one other place among many others you can try, there's also the 'blade' as I call it (see pic). This is the blade-like rock at the far left. It's thin and flat, and has a very sharp-looking edge. You can get up with a grenade boost (you might want to practice it beforehand), and the view up top is spectacular, with the whole area laid out before you. See BCM639 for my first battle up there. Spoiler alert: the covies lose, heh heh!
Wave anticipation grenades
There's also a sneaky grenading tactic I like to employ. As mentioned earlier, each main wave is triggered when the enemy count drops below two. So, when you see that the count is at two or just over, throw a grenade so it's going to land near the centre of the grav-lift, then quickly reduce the count below two to trigger a new wave - or hope that Marine fire will do the job. Just as the wave arrives, the grenade hopefully takes out multiple covies as they're standing there, or possibly even before they've quite touched down. Nice! You might even get a complete wipeout.
Of course, that potentially triggers another wave. So if you've confidently lobbed another grenade in the meanwhile, you might take that wave out too! See how many waves you can get like that.
Admittedly this tactic is a bit of an unfair trick as it rests on unrealistic advance knowledge of when a new wave is going to come down, but it's fun! You can see me doing a whole lot of it in my movies, and there's a spectacular wave wipeout in BCM635 for example. However, I also sometimes deliberately fight without using anticipation throws (only grenading when I actually see covies), in which case the battles tend to last longer. That's fun too, and agreeably relieves you of the pressure of trying to achieve good timing.
Dynamic play
Instead of defending in one particular area, it can be fun to move around a lot, particularly up on the raised outer perimeter, from which you can rain down fire and grenades on new arrivals. In moving around, you'll get all sorts of angles from which to fire, and I'm especially thinking of the sniper rifle there. As an incidental benefit, your movement from place to place will also draw the Marines along, which I think should make them more difficult for the covies to target.
A number of my battle movies have featured dynamic plays of this type. One weapon combo you might like to try is sniper rifle plus needler, such as seen in BCM646. They're both good for sending in fire from distance, and the needler is very forgiving for firing on the move as the needles are homing. But also, the needler can used for making aggressive charges when you fancy it.
Close-range work down below
If you want to live a bit more dangerously, you could just hang around in the area below the grav-lift and enjoy a general free-for-all at fairly close range. You can see me doing some of this in BCM634 during the second battle. An Elite will often get distracted by Marines, allowing you to give him a nasty surprise of some sort. You can throw grenades onto the grav-lift when the time is right, and don't forget that there are plenty of spare frags in the supply area, as well as a rather handy medkit.
Grav-lift hold-out
Gung-ho corespondent One One Seven brought my attention to an excellent recipe for hectic chaos, which I've enjoyed plenty of. Namely, go stand on the grav-lift itself and defend from there. You'll have enemies beaming down all around you and the place is likely to be cluttered with Marines too, at least while they're still breathing. Excellent frantic fun, examples of which you can see in BCM636 and BCM646.
A plasma pistol would be good here, ideal for close-range blasting and whacking. Or maybe you'd prefer some visceral drilling with an AR. You might also consider having a plasma rifle as a backup, for taking down anyone who's got clear of the platform, as it has precision, speed and reach.
When a new wave comes down, obviously you'll want to get off to a fast start on them, such as immediately stunning the Elite and then quickly finishing him to cause panic. If you're with Marines, you get forewarned of an incoming wave because the Marines look up. Very useful, and easier than trying to look up yourself. That said, do take a moment to look up at the enemies as they descend sometime; it's a novel view!
Other hold-outs
It can be a lot of fun holding out in other spots too, letting the covies come to you. Those that make it off the grav-lift alive, that is.
A few of my battle movies have featured excellent places for this. For starters, you should definitely check out the AR hold-out in BCM641. In that area, namely near the 'blade' rock mentioned earlier, the Marines spread out really well, presenting the covies with what must have seemed like a wall of fire as they came up the hill.
Another nice hold-out spot was featured in BCM644. Again we were up on the periphery, obliging the covies to come up a slope, but this time I was using AR and needler, giving me more explosive potential.
Both of those hold-out spots gave longish battles the way I was playing them, but you could also hold out in places the covies take longer to get to. That can give you a much slower paced battle if you fancy it, especially if you're denying yourself the long-range power of the sniper rifle. Explore the possibilities!
Shade attack
Here's a novel idea, an example of which is featured in BCM637. Blast a Shade somewhere so it's closer to the grav-lift, and use it to try and slaughter the arriving waves. This can be pretty good fun, though you do need the Shade fairly close to be effective, and you'll want to watch out for Grunts throwing plasma grenades.
Preferably don't have the Shade so close that Marines will be drawn onto the grav-lift though, as it then becomes hard to attack the covies without also hitting your guys. You'll need to experiment with positioning, and how best to blast the Shade to a desired spot.
On Legendary things can be a bit tough, but it's certainly manageable if you've got the support of a nice large squad distracting the covies. Try to pepper each incoming wave of covies promptly though, before they zero in on you with their fire. In particular, you really don't want to get hit by a plasma ball, as that can quickly lead to your having to bail and run for the medkit. Also, try to bring down the Elite fast, to make the other covies panic.
Blending the Shade idea with a 'grav-lift hold-out', you might even try having a Shade on the grav-lift itself. I'll leave you to check out what that's like!
Hunter tactics
When it comes to the Hunters, I quite like to run in to start whacking them and drilling them with an AR. It can all be over in seconds. But if you fancy something more spectacular, try streaming needles into them as you move around the raised perimeter.
If you're feeling cocky, you could try luring a Hunter over to the cliff edge. Dodge as he swipes, and watch him plummet to his doom - perhaps with a plasma grenade attached for good measure. What a chump.
There are other ways to handle things too of course, including just standing back and seeing what your squad can do, if it's still in good shape. Time to earn your pay boys! Marines can also be useful for making the Hunters swipe, giving you the chance for scoring a sniper round in the back; so watch out for the opportunity.
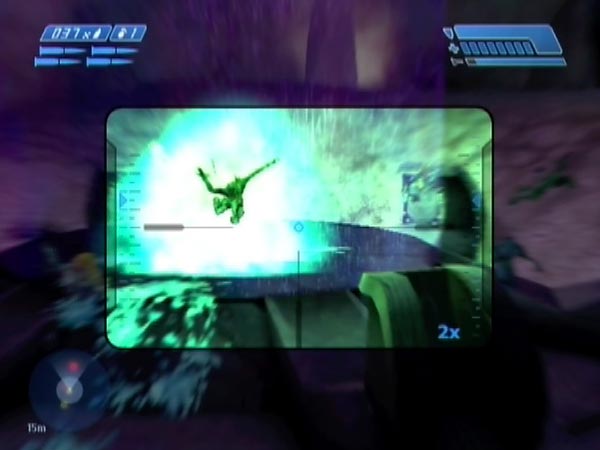
Mid-air tagging and sniping
Something you might like to try is tagging a covie as he descends to the platform. Trouble is, it's rather tricky, which is why there was no example of it in my initial sequence of twelve battle movies.
It's fun to see it happen though. In BCM647 I showed lots of examples, which were obtained using a set-up where I'd had a handy mid-battle checkpoint (delayed from wave 4). That enabled me to make attempts at a rapid rate, and over the course of time, achieve many hits. Many of the throws you'll see there are anticipation throws, made before the next wave has even appeared. But others are reactive throws, made after seeing the new wave, thus giving me a chance to zero in on a particular target, though you do have to be fast.
Likewise, you might like to try sniping a covie as he's coming down. This too is quite tricky, but again you can see examples in the aforementioned movie. When you score a hit, it can seem like the body just vanishes. But actually it just suddenly went to the platform. Strange!