Control room exploration and fun
Posted February 19th 2025 (replacing a minor 2006 article), updated later
Associated movies
- BCM548 - Easy; Exploration with a Banshee (6:34)
- BCM549 - Easy; Mini-Halo inspection and fun (5:33)
- BCM550 - Easy; Glass shattering fun (6:56)
- BCM551 - Normal; Fun with an Elite (7:25)
- BCM552 - Normal; Set-up modifying and more Elite fun (6:56)
- BCM553 - Normal; Critical point on setting up for Elite fun (3:30)
- BCM555 - Heroic; Setting up with the anti-spawn door trick (5:36)
- BCM602 - Easy; More glass shattering fun (5:00)
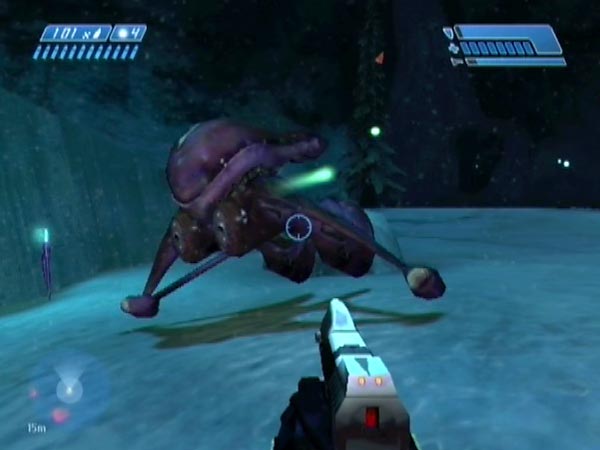
Once you've got a Banshee soon after the start, you can fly back to the control room to explore and to enjoy some fun. I'll detail these activities in a moment, but first a few words on setting up.
Setting up with a handy checkpoint
To make setting up as easy as possible, you might like to use Easy. That way there's very little danger and you can pretty much run past everyone if you want. On higher difficulties you'll obviously need to take more care. A nice route to the Banshee is down the right-hand side as seen in BCM548. That lets you skirt around most covies, though on Easy you can take pretty much any route and still be fine.
For doing exploration I'd suggest a pistol and sniper rifle as a good combo. The rifle is useful for viewing things at magnification, and with light amplification when desired. Both weapons are available in the tower once you get outside, and I'd suggest getting them pronto, though you could get them later instead (more fiddly because you'll likely be trying to keep a checkpoint delayed at the same time). Incidentally, I also recommend getting a full complement of plasma grenades to play about with. You start off with only two, but can pick some up along the way.
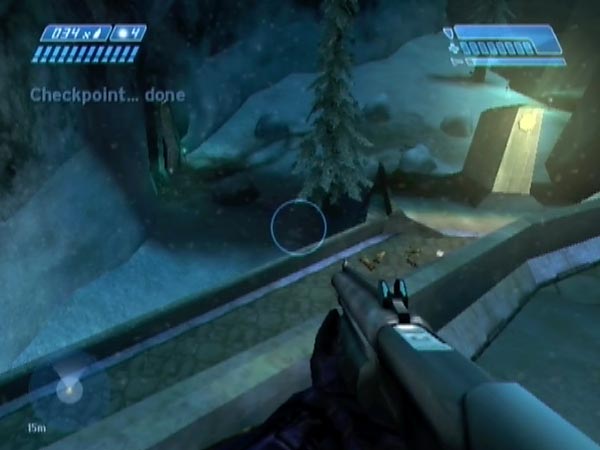
It'll be good to get a checkpoint when back at the control room, not least because some activities may lead to your death. Boarding the Banshee triggers a checkpoint, and you can keep it delayed until back, using enemy threat and Banshee fire as appropriate - and potentially some jumping if you dismount on the way back to pick up weapons.
Boarding the Banshee also triggers loud music, set to continue for several minutes. If you want to kill the music to enjoy your control room fun with just the ambient sounds there, simply destroy the Wraith.
The way I've described things, you'll end up with a nav-point in your HUD. If you'd prefer a cleaner HUD, that's no problem. Destroy the first generator then go through the indicated doorway at one end of the bridge (you'll then have no nav-point). At the start of the long middle section of passage there's a checkpoint triggered, and you can keep it delayed until back at the control room.
UPDATE: Setting up can also be done a somewhat different way by using the anti-spawn door trick, which conveniently eliminates the outer covie mob. See my appended section on that at the end.
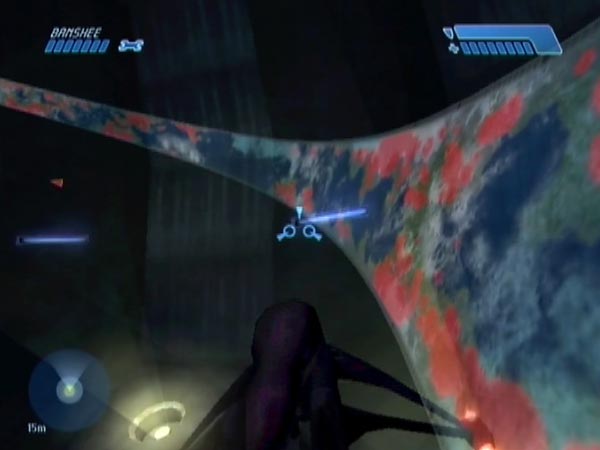
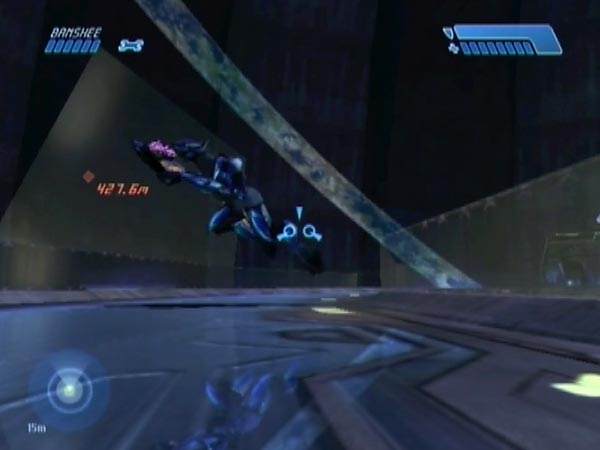
Visiting the bottom and top
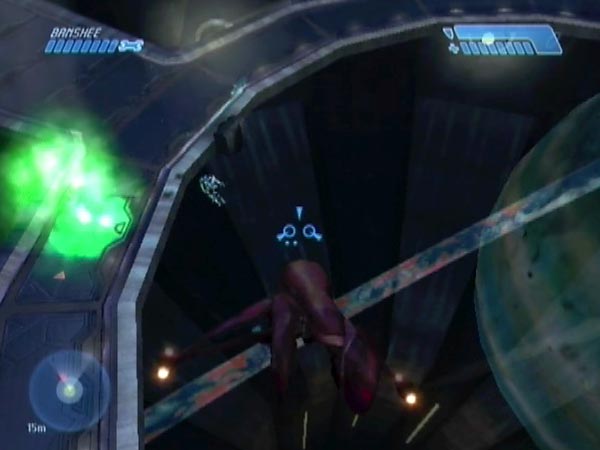
Moving to the exploration aspect, for starters you might like to fly down for a look at the bottom. Admittedly though, there's not a whole lot there. The ground is flat and featureless, and the side 'ribs' leave angled niches at the ground. It's rather dark too. Pity nobody installed any lighting. Nice view up with a zoomed sniper rifle though!
The top is very similar to the bottom except upside down. What were overhang niches now become perches you can dismount onto, though your Banshee will fall down into the void. Again, you can at least enjoy some viewing with a zoomed sniper rifle. Incidentally, Spasmodic launched up onto one such perch in his Halo 1 launching video DOSAGE.
Visiting the periphery
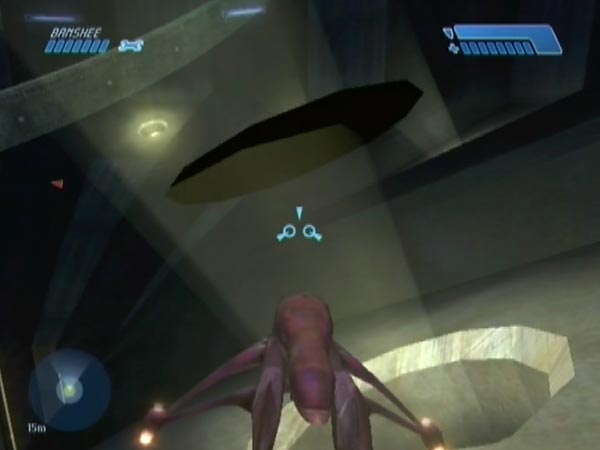
Below the level of the control platform, you can visit the sloping periphery which features eight big lights. In connection with those, there's an oddity. Over each light there's a floating 12-sided panel or 'disc' hovering several feet over the matching hole for the beam, but it's invisible from above, so you won't have known it was there. You have to get below it to see it. The underside is black, and the disc is non-physical (things pass through it).
It seems likely that the disc was Bungie's way of casting light onto the area around the light, perhaps to make things look more realistic. See my 2006 forum chat with Owm about this.
As for the lights themselves, the surfaces are likewise non-physical, as demonstrated in BCM548. You can get a novel view by being within a light and looking down into the pale yellow.
Caution: death zone!
While flying around the periphery, beware of the death zone below part of the gangway (towards the door). If you enter this zone you get instantly killed, and your Banshee is destroyed if you're in it!
If you were to jump down from near the door switch, you'd normally enter that zone and die. I imagine that's what Bungie put it there for, because normally the fall wouldn't be enough to kill you. Just for the record though, it's possible to jump down to miss the zone and survive, if you do it quite a way back from the door. Possible on PAL Xbox at least (my system).
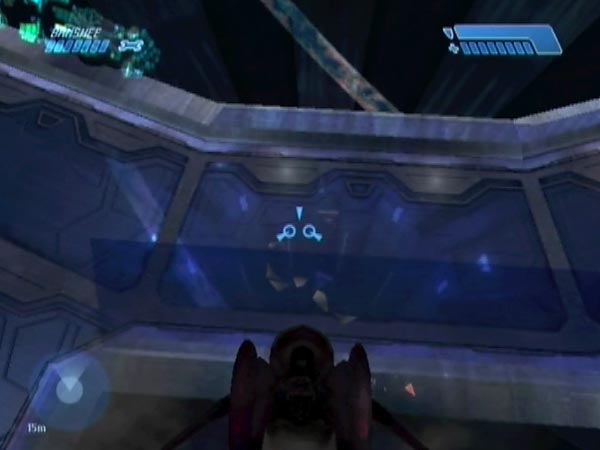
Mini-Halo inspection and fun
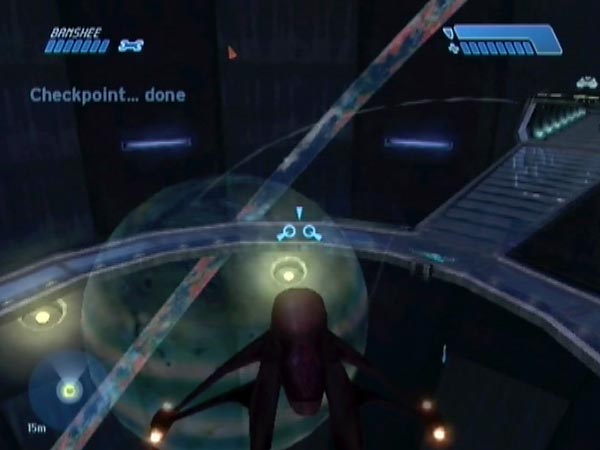
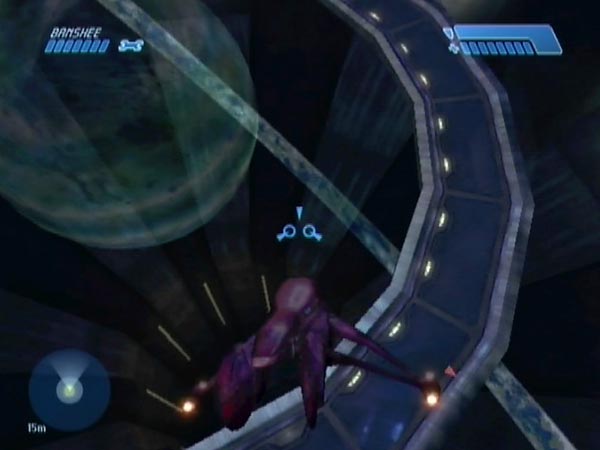
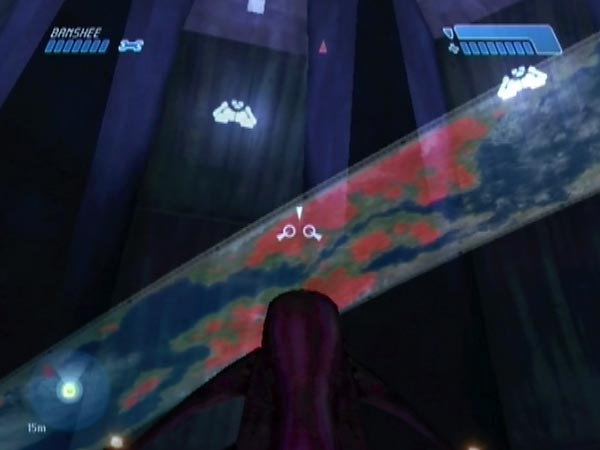
A prominent feature of the control room is the 'mini-Halo' as I'll call it - or just the 'ring' for short - rotating around. I believe this is meant to be a some sort of holographic projection; and certainly it acts as though non-physical. You can have good fun with it, which was the focus of BCM549.
For starters you can track around it getting spectacular views, such as getting a view which skims along low down to the inner surface. It's not as easy as it sounds though, which is partly because the ring not only rotates but constantly moves its spin axis around (in a somewhat irregular way, which I find odd). Sometimes the ring may be up near vertical (it can get fully vertical), while other times it can be quite shallow, though never actually horizontal (maybe the minimum angle is somewhere around 25°). You may need a bit of practice to get good at tracking it closely.
You can also get close views of the ring (both sides) by hovering, though that's likewise easier said than done. The Banshee doesn't automatically hover in place, and it can take some delicate control to achieve and maintain a certain view. Something to notice: the ring's topography repeats, as if made of four identical quarter-strips.
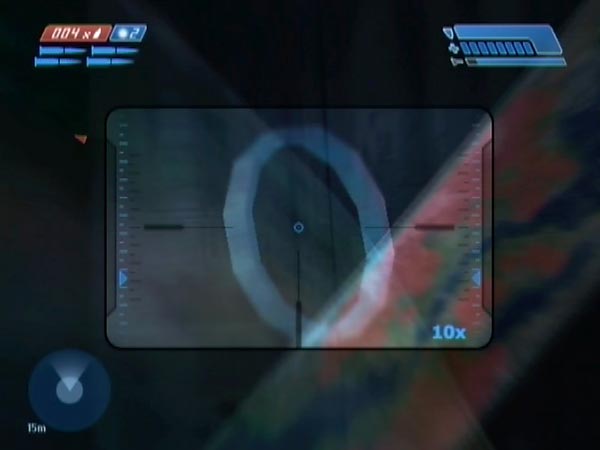
Of course, you can also take a look at the ring using a zoomed sniper rifle. That can be useful for getting a close look at the signs spotted around the ring, notably including a large roughly rectangular one which has quite a bit of symbolism on it.
Note: I haven't tried to analyse the ring's movements in detail, but it appears to repeat a cycle which, on PAL Xbox at least, lasts exactly four minutes. And within that cycle it goes vertical twice, with those occurrences separated by what looks like exactly two minutes.
Other things to look at
As well as the mini-Halo, there are also some other floating objects to look at. Among them is a cute little polygonal ring orbiting around, as highlighted briefly in BCM549 using a zoomed sniper rifle. It appears to orbit in sync with a small planetoid image.
When I posted the initial version of this article I wasn't sure what this represented, but apparently it represents Halo! To quote from the AOTCR level transcript at HBO, "A holographic map of Halo surrounds a smaller holographic map of the system, which shows Basis and Threshold, and Halo itself between them". The blocky polygonality makes sense now, as a stylistic way of signalling that the contents there are what have been magnified out to the large mini-Halo image.
There's also the control panel to inspect, with all its weird animated elements, plus its own sounds.
Glass shattering fun
The glass panels around the circular platform have a bizarre property. Through contact, the Banshee can cause spectacular shattering (shard production), yet they remain intact! It makes no sense at all, but the shattering is a lot of fun so never mind. Actually, perhaps the anomaly is instead the fact that glass shards are produced from what doesn't seem like glass at all. The panels (which have no perceptible thickness, unlike the shards) have somewhat of a perspex appearance, and they're also unreactive to gunfire or blasts. However, I'll continue to call them 'glass'.
At first I was just cruising the Banshee through the panels, flying roughly parallel to them. You can go through one after another like that, around the circle (tip: you get stronger shattering effects if the Banshee's hull is close to the panel). But later I realised there was considerably more you could do, and I showcased things in BCM550 (supplemented by BCM602 later). Basically there are various ways you can get the Banshee inserted into the glass to subsequently produce shards, potentially in high volume.
Typically the shard production would come from flipping the Banshee. For examples I refer you to the movie as they're not so easy to describe in words, but in particular, note what I called a 'diagonal slice' which gives loads of glass (see pic). It's easy to achieve, and when you dismount (which looks fatal), the game obligingly puts you on the platform. Repeatedly flipping to cause shattering has the side-effect of easing the Banshee along the panel, but you can always board and slide it back the other way, to dismount afresh and have more fun.
In some cases you can get remarkable automatic shattering due to the Banshee being unsettled. In the movie, the 'nose slice' and deeper 'mid slice' are configurations of this type, giving some spectacular effects, potentially including vigorous camera shake. You may have some trouble getting these effects though. I haven't explored the situation fully, but it seems like there may be quite a bit of sensitivity as to whether you get good effects or not. So it may take a few tries with Banshee insertion before you get good results.
NB: non-breaking shatterable glass panels like these also appear on the twin bridges deeper into the level, which also feature in AOTCR of course. You can enjoy some similar glass play in all those cases.
There are also short glass panels around the circular platform, on both the outer and inner edge, and these too produce shards without actually breaking. The mirrored floor produces shards too.
Fun with an Elite
After the level's first door you meet a group of Grunts plus an Elite, then just around the corner a group of reinforcements will spawn at some point, comprising an Elite and one or two Jackals (two on Legendary). You can potentially have fun with the reinforcement Elite in the control room later, but there's a critical point to follow in setting up. If the group 1 covies drop below 2 in combat, the reinforcements will spawn forthwith, but that's no good, because when you reach a trigger line a short way outside, namely triggering the prompt "Destroy Pulse Generator #1", they'll vanish. For things to work, group 1 must not drop below 2. Then when you hit the aforementioned trigger, group 2 will belatedly spawn, and won't vanish.
The set-up demo at the start of BCM551 is unfortunately misleading, due to the patched-in footage I used to show the reinforcement Elite early on, at a time when I hadn't realized that he mustn't spawn early like that. When I did realize, I clarified the situation in the short corrective addendum BCM553.
UPDATE: Setting up with the anti-spawn door trick is easier, and also allows you to use the first Elite if you want. See my appended section.
To later have fun with the Elite, you first make him rage after you onto the platform, and then there are various possibilities. You can see lots of Elite fun in BCM551 and BCM552.
One idea is to cruise around underneath in Shark style (the technique I put to good use at the first bridge in level 5), making him dive. That gives you an entertaining view, but actually the glass panels stop him going off. Except, there's a gap at the control panel, so he might dive off to his death there.
Talking of which, another recreation is to herd him along the path by repeatedly causing him to dive (your Banshee resting on the path this time), until he finally dives over the edge at the control panel.
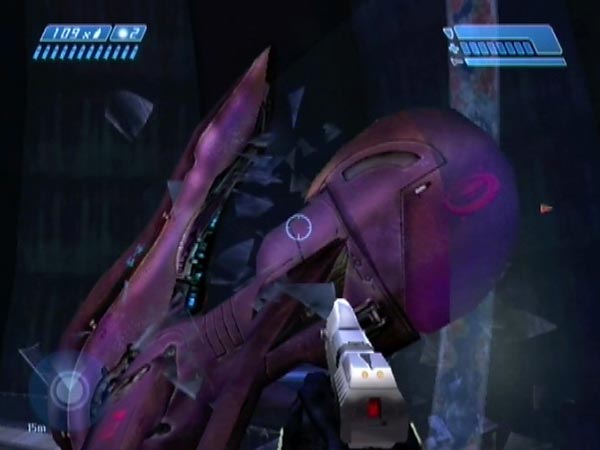
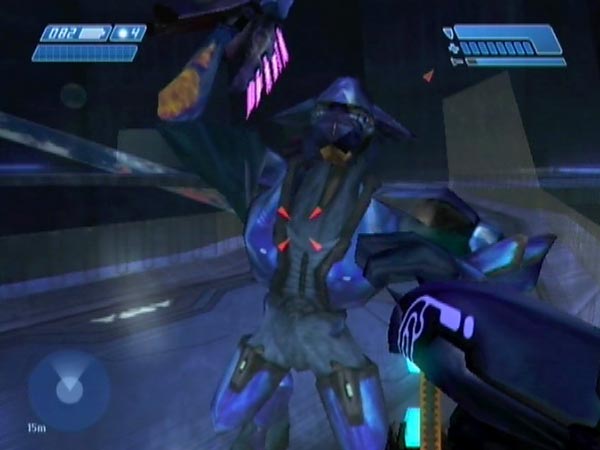
For a good bit of foot-based fun, get onto the outer edge behind one of the large glass panels. From the other side he'll potentially shoot at you and repeatedly try to melee you, but to no effect. You can shoot and melee him however, because he partly sticks through at certain times. Also you can tag him on the nose! That can all get quite amusing, especially how he fruitlessly takes swipe after swipe (see pic).
Another foot-based idea: get onto the inner edge near the control panel, to tempt him to come after you. He often clumsily goes over the edge (similar to suicidal Elites at the start of level 5), and you can tag or rocket him, or whatever.
If you fly around just beyond the gap in the barrier, he may end up stumbling or jumping off the edge, in which case you can enjoy trying to score a mid-air hit with the fuel rod cannon. Quite often he instead ends up standing on the low barrier, which pretty much immobilises him (you can also get this situation when going along the inner edge near the control panel, on foot). In your Banshee you can potentially then blast him over the edge still alive (the shot will need careful placement), and then go for a mid-air hit.
I'd say that's really the best Elite fun of all, and you can see examples in the final phase of BCM551 and also in BCM552. But to get into it fully, you should create a set-up in which the Elite is already on the barrier, so you don't have to get him up each time. It's quite easy to do, as a modification of a basic set-up.
Note: for having fun with an Elite, I suggest using Normal as a default, and having a blue to minimise the amount of fire you take (you'll also want your Banshee to be in good condition). On Normal, a healthy blue is easily put into rage mode with a close Banshee blast, which is very convenient (and not difficult to do with a time-saving long-range shot), whereas on Easy he's so fragile that it's a touchy job to make him rage without going too far and killing him. Whatever difficulty you choose, if you have a blue Elite he'll have a needler, whereas a red will have a plasma rifle.
If you're particularly interested in blasting an Elite off the barrier still alive so you can then attempt a mid-air hit, it can be worth using a higher difficulty than Normal (or perhaps using a red Elite, though I haven't explored that yet). On Heroic, a blue can survive a rather closer blast than on Normal, and this makes it easier to shunt him off. Your shunting shots don't have to be so precise. On Normal I found that my shots had to be very precise, in terms of their distance from the Elite. There was very little leeway.
One more note. Although it may take a few tries, it's possible to create a set-up in which the Elite has already been put into rage mode, such as seen in BCM552. Carrying a delayed checkpoint, you just need to trigger him into rage mode, then quickly get out of enemy threat for the game to grant you the checkpoint. The virtue of such a set-up is that you won't have to enrage the Elite each time you want to have some fun. It'll be a time saver.
Modifying your set-up
If you've created a set-up as per my default suggestion, bear in mind that you can potentially modify it later. You might be interested in a weapon switch for example, or maybe you want to be in a certain initial state, with a particular activity in mind. If your old checkpoint was the one from boarding the Banshee, there are still at least three fully delayable checkpoints available for use in completing a modification.
The first is triggered at the start of the long middle section of passage leading to the first generator, the next is triggered at the exterior doorway after you've destroyed the generator, and then there's the bridge exit checkpoint I mentioned earlier in connection with eliminating any nav-point in the HUD. All three are featured in BCM552, which shows a progression of modifications being made, along with some Elite fun.
Setting up with the anti-spawn door trick
In the course of working on this topic, I realized that the anti-spawn door trick could let you create set-ups more easily, eliminating the need to deal with lots of covies outside. That's a significant benefit on anything above Easy, and actually there are a few other benefits too. In this extra section I'll describe how you can work things, and you can see a demo in BCM555. A term I'll use here: 'group 1' will refer the initial covie group, comprising an Elite and some Grunts.
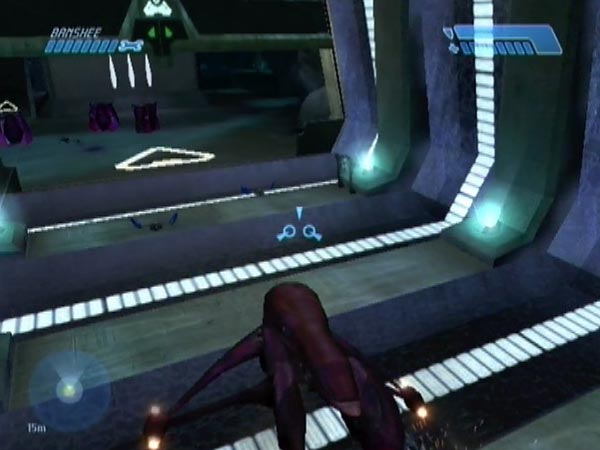
With the initial fighting involving group 1 and possible reinforcements, leave an Elite alive if you want to have fun with him later. It could be either the group 1 guy (you have this extra choice now) or the reinforcement guy (and this time there's no issue over when he spawns). Head to the control panel for the outer door, and after getting the checkpoint triggered at the previous door, do the anti-spawn door trick. Get any weapons you want and get the Banshee, plus there's one extra thing. On your way there are three checkpoints triggered, the third trigger being towards the bottom of the structure. Keep that last one delayed until back in the control room in your Banshee, then get it - and you're finished!
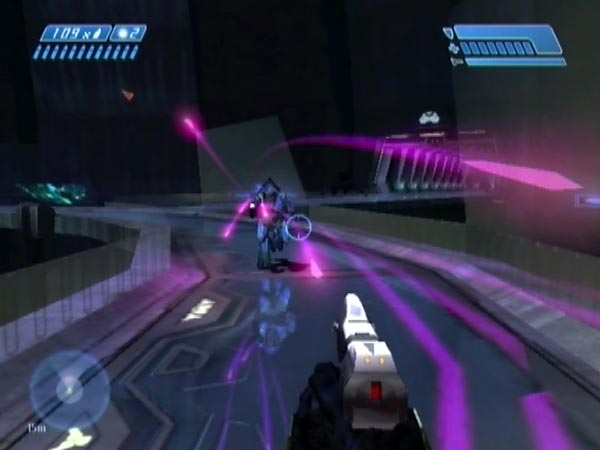
If group 1 has been wiped out, this set-up will have a little advantage compared to normal. Namely, if you later want a checkpoint with which to complete a modification, you don't have to go far at all. You can trigger one by using the outer door's control panel again (see pic), also causing some Grunts to finally spawn. There's an example of such use in BCM555. Some pertinent background info for you (based on my investigation): the checkpoint associated with that door triggers when two conditions have been met: (1) Grunts have spawned beyond the door, and (2) group 1 has been wiped out.
There are other possible ways of setting up with the trick (e.g. finishing off by using a checkpoint triggered by a further press at the outer door's control panel), but I've given what I think is the best plan. A word of warning though. If you've set things up with the first Elite, don't ever trigger the generator prompt (just past the outer door, low down), else he'll vanish. Avoiding the trigger zone is no trouble however; you can simply fly over it.
One last remark. With this new way of setting things up, the generator prompt won't have been triggered, so you won't have a nav-point cluttering up your HUD.