Hidey-hole defence
Associated movies
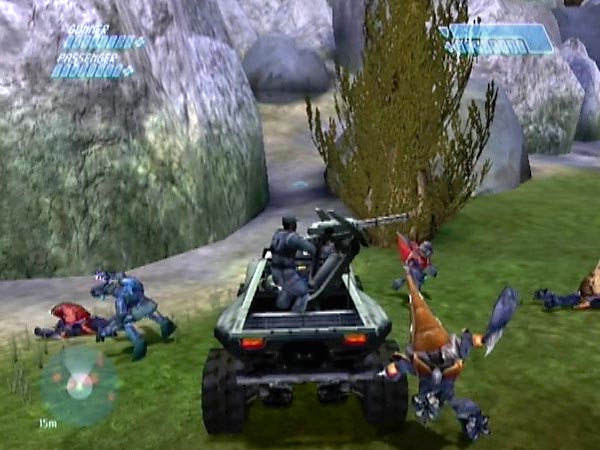
Up past the lifeboat there's a narrow gap dead ahead, leading into a small sheltered area I call the hidey-hole. The entrance acts as a great bottleneck for the covies, giving you an excellent hold-out spot.
The best way to set up a battle here is to start with a modified far area horde set-up. Heading in from the left entrance, drive around the right side of the rockslide, heading for the hidey-hole entrance. You're liable to take a nasty pounding as you drive through the mass of enemy, but on Heroic you should make it with decent health.
You could also just use any rockslide megabattle save, such as seen in BCM650 and BCM656, but you should take care to free restricted covies so they'll join the attack, bearing in mind that the hidey-hole is outside the dropship trigger zone. Even so, the battling may not be as intense however, with enemies perhaps filtering your way more gradually than with a horde set-up.
Tactics talk
Enemies often cluster around the entrance for a while before trying to come through. It's here that a well placed grenade can do the most damage. Another good thing about grenade work here is that it often causes weapons to be blown back into your hidey-hole where you can pick them up. However, if you're running short of grenades or ammo, you could let an enemy come through the gap before killing him and picking up anything he drops. There are plenty of foolhardy Grunts that will be only too happy to oblige with donations.
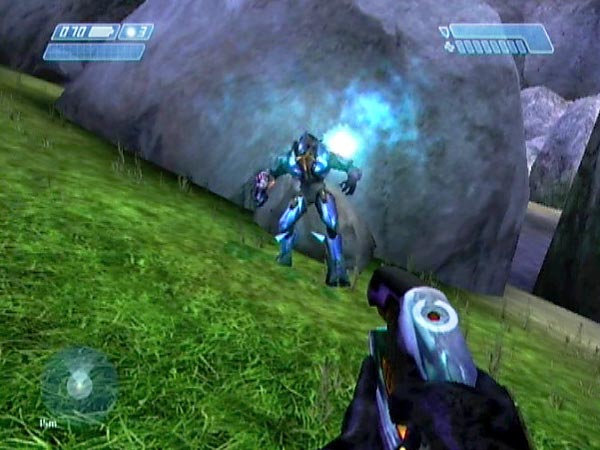
If enemies start trying to push through the gap, the ideal weapon to have is a plasma pistol. You just can't beat it for the really close-up stuff, though the AR is good too. You can stun an Elite with a plasma ball, and finish him off with a few whacks or with a quick burst of rapid-fire shooting. If you care for a challenge, see if you can get through the entire battle with just a plasma pistol (with or without grenades).
The needler is far from ideal as a close-up weapon, but in an emergency you can use the following technique to take down a nasty Elite as he comes through the gap. Step into his path to tempt him into a swipe. As he swings, backstep while firing a stream of needles into him, and BOOM! Bye-bye Mr Elite. Just make sure you're well clear of the bang!
Usually I make any Warthog buddies dismount to maximize the challenge, but once in a while I'll leave them in the hog and face it towards the entrance so they've got a good line of fire. The chain-gun rips into the enemy and a fine dose of carnage and mayhem ensues.

A few covies may try to sneak in through the gap to your left, or otherwise attack from that direction, but you could block off that approach with the hog if desired. Also keep an eye on your motion tracker for anyone circling around the long cliffside passage behind you. Some of these covies are sneaky!
Retreat!
If you get too pressured, you can always retreat along the narrow cliffside passage, perhaps using a grenade or two to buy you some time if needed. You could potentially retreat up towards the Marine plateau, or maybe you'd like to try and make a stand in the passage. Being so narrow, it's pretty good for defending from.
Blocked entrance
For a sneaky variation of this battle plan, use the hog to block the hidey-hole's entrance. It'll actually wedge in quite nicely if you drive it halfway through then let it get stuck (although your gunner might not appreciate being left on the hazardous side, if he's with you). The enemy will tend to gather on the far side. When the time is right, lob in a grenade or two and stand well back for a big bang, being careful not to let the hog land on your head.