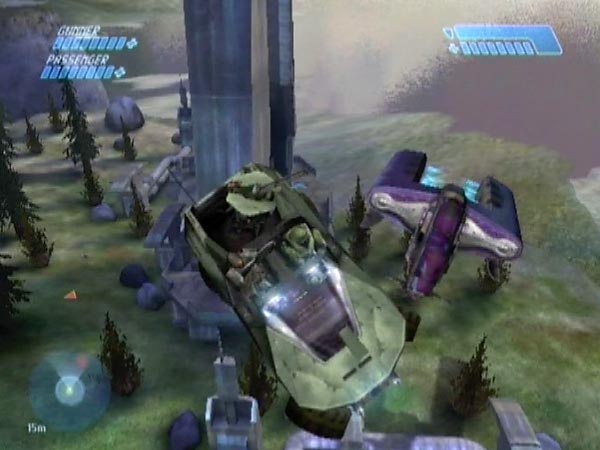
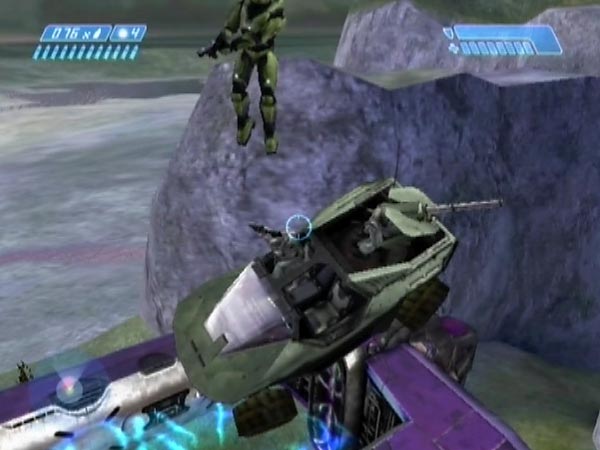
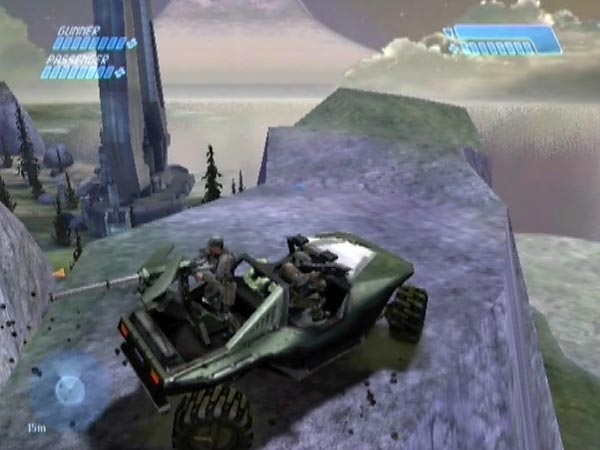
Warthog catapulting with a dropship
Posted November 15th 2019, updated later
Associated movies
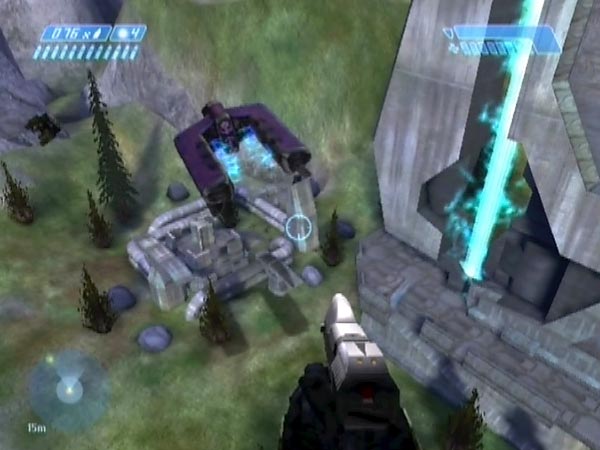
On Heroic or lower (but not Legendary), when you finish the hillside survivor area a covie dropship spawns out in the valley, near the second entrance to the cliffside survivor area. If you subsequently drive up to the cliffside hilltop and get a checkpoint there, you can have tremendous fun with that ship, repeatedly making it catapult your Warthog into the air. All you need to do is trigger the ship to depart - namely by facing a particular area in the direction of the ship - and then drive into it as it passes low through the second entrance. It's something I realised while working on Warthog catapulting with a Pelican.
In terms of spectacular payoff for the amount of effort needed, I can think of no better exploit. The set-up work is simple and the catapulting itself is easy. If you've never done any major launching business before because it looked like being too much work or being too hard, this is the ideal topic for you!
Using the Pelican touchdown checkpoint
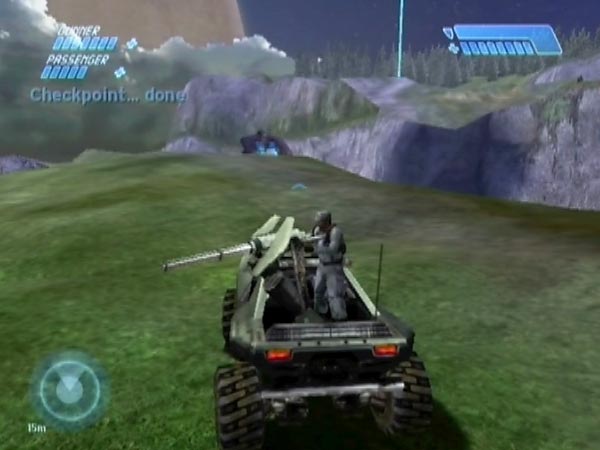
The main issue in regard to setting up is the question of how to checkpoint on the hill. My demo BCM387 uses the touchdown checkpoint for the Pelican which comes to pick up cliffside survivors after you've done your rescue work. That checkpoint is fully delayable and I recommend delaying it (with jumping) at least until Cortana has finished talking, or else you'll get repeated lines as you do your catapulting. In my demo I moreover delayed it until the Pelican was gone from view. That was partly to minimise the amount of work the Xbox has to do, and thus guard against any possible stutters in the framerate when the hog is flying through the air.
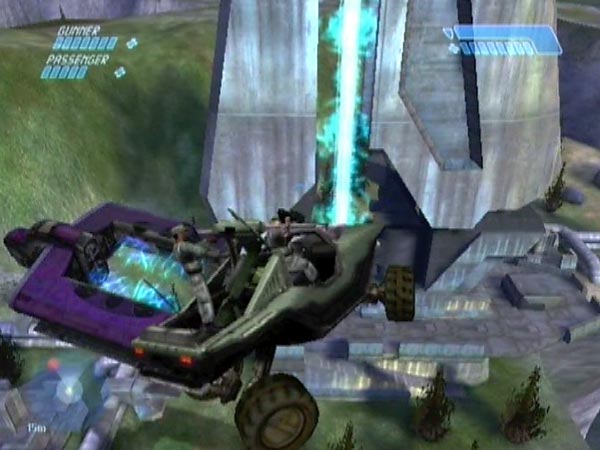
Beam timing
It's nice if the tower fires its beam as you're flying across the area. It looks good and there's also the possibility of getting amusingly zapped! To get convenient timing you should end your checkpoint delay at a suitable time. For PAL Xbox I suggest ending the delay just as the sound of a beam is dying out - as done in my demo. For NTSC/PC I think you'll need to end the delay a few seconds earlier (to account for the period between beams being shorter). If you end it when a beam fires, I think that might be about right.
Other checkpoint options
Another checkpoint option is to trigger the rockslide dropships and use the checkpoint for ship 2 (or a later ship, for that matter). That's a technique I've previously shown in connection with Warthog catapulting with a Pelican; see BCM376. With this option you can potentially leave the cliffside survivor area well populated with covies, which can make for some fun when your catapulted hog lands among them. The hog might even splatter one! However, you may get some framerate slowdown when the hog is flying through the air, as the game is having to cope with not only the dropship but also all the covies down below.
Yet another option is to use a checkpoint triggered part way through dealing with the cliffside covies, but you'd have to keep it delayed while going up the hill. Again, this is a technique I've previously shown in connection with another topic; see BCM307.
All these checkpoints are fully delayable, allowing you good control over timing as with the Pelican touchdown checkpoint.
Further set-up advice
A key thing to remember during the set-up work is that you must always avoid facing the direction of the ship too closely or else you might prematurely trigger its departure. The triggering works even when the ship is blocked from view - so you have to take care. As a safeguard against such an accident, you might like to save an entry checkpoint when heading into the cliffside survivor area, like I did in the demo.
Assuming that the hillside area is the first one you deal with, Banshees will subsequently spawn in the valley. You'd better destroy them, else they could end up attacking you when you get onto the cliffside hilltop.
One last aspect. It's good to have Marines along for the catapulting, as they'll do a lot of amusing yelling. Stacker is particularly funny and is available for pick-up in the hillside survivor area. You might also want to take care that your Marines retain good health, so they're better able to survive heavy landings.
The catapulting
You can drive into the dropship in various ways, but in particular, there's a fairly steep section of ground which you can ramp off. The only down side is that if you hit that section fairly straight on, it tends to knock a bit off your speed, which might sometimes make you fall short. Another option is to approach the slope more obliquely so there's not such a jolt, and then you can potentially turn rightwards towards the end.
In terms of impact with the ship, the main area to try and hit is the back of the fork. Hitting a prong is less likely to get you nicely catapulted, and often results in death. But on the other hand it can occasionally produce an impressive ricochet which bounces you around the fork, such as seen in the first 'pinball special' of BCM386, around 5:07.
Ramping off provides the most violent collisions, which potentially translates into impressive trajectories, but it's also possible to collide more gently, e.g. driving off the fairly level bit of hilltop at the end. This can still give some very nice trajectories. So have fun trying various things.
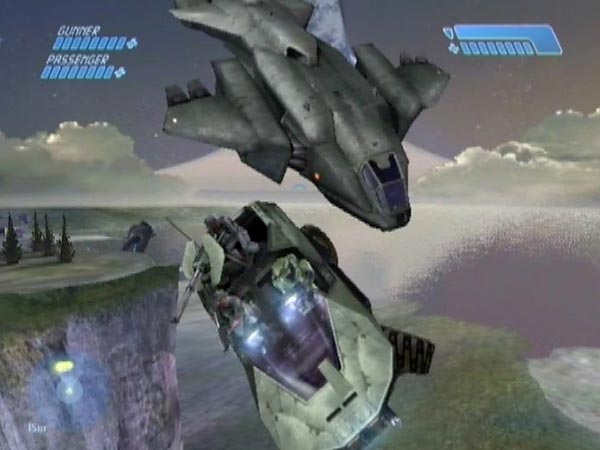
Bailing fun
As seen in BCM388, you can also have fun bailing from the hog. For the most part I'm thinking of bailing as it's colliding with the dropship or very soon after, so you get the longest flight; but you can also bail later.
For the biggest trajectories you need to get some sort of knock from the hog after you bail. That happens quite a bit because the hog is usually given considerable spin by the dropship collision. But you also need some luck to be sent in a good direction. What this all boils down to is that you need to persevere to get spectacular flights.
If your beam timing is good (see earlier), there's a possibility of getting zapped as you go over the tower. My movie shows a few close calls.
Another interesting possibility is of having some sort of close encounter with the dropship after bailing, perhaps even bouncing off it. If you get close you may see a prompt which says "Press X to flip <need a string entry here>" (there are two examples of that in BCM392). It would be nice to see what that does, but unfortunately you'll probably be dead before seeing much of it. I imagine that the ship will briefly level out, just as happens with the level 5 dropship whose turret can get detached.
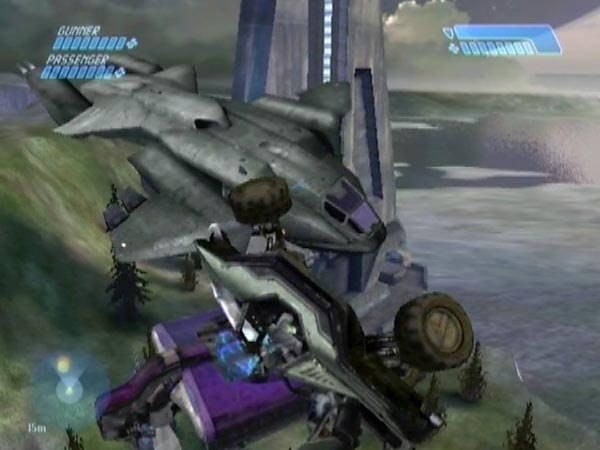
Pelican collision
If you create a set-up in which the Pelican is just lifting up off the ground or thereabouts, you can have good fun trying to get catapulted into its path as it flies across the area. This is a major recreation. You'll need some care with timing your launch of course, and you'll also need to get the right sort of catapult, but those are both aspects you can hone to increase your chance of success. See BCM390 for my own attempts. It takes perseverance, especially as the catapult is hard to control very closely, but it's not as near-impossible as you might think. You may get several good hits per hour, or something like that.
I'll say a bit more about the timing. In setting up, wait until the Pelican starts rising, then board your hog within about eleven seconds. Ten would be about optimal I think. In my movie I boarded after about six, which turned out to be a bit early. I was initially having to wait about five seconds or more before hitting the pedal.
When should you hit the pedal? That's an aspect you'll need to hone, but it also depends on how far along the Pelican's trajectory you want to intercept it. There's quite a range of opportunity there and you can potentially hit it quite late, when it's heading downwards. You could do your timing by counting seconds or by the sound of the approaching Pelican, but there's another possibility too. In my movie's set-up I found that if I accelerated just after the tower's beam fired, that was about right for a relatively early interception. So I was just going by the beam firing, and didn't need to count seconds. Convenient! Of course, it was just good luck that the beam happened to be firing at a handy time.
Later I improved my set-up via two accidental micro-modifcations (see below). In my final modification, the beam was just about to fire, and thus I had hardly any waiting around to do before accelerating. That was much better than having to wait around for several seconds each time.
Checkpoint loss danger
Here's a little warning. Once you've set things up, you'd better soon consolidate by saving the checkpoint, otherwise it could get accidentally lost. How so? When trying to get catapulted, you might end up dropping into the trigger zone for the entrance checkpoint. It's easy enough to quickly revert before that checkpoint comes, but unfortunately there's a bug which means that you could end up getting the checkpoint shortly after reverting (the game failed to cancel the triggered checkpoint; that's the bug). Then you'd no longer be able to revert to your set-up checkpoint. If you consolidated though, at least you'll be able to get back to it by ejecting the disc and reloading.
Micro-modification via the checkpoint bug
The aforementioned checkpoint bug can actually be useful however. If you get a bogus checkpoint (either by accident or deliberately), you've got what I'll call a micro-modification of your set-up, in which a few seconds of time have elapsed after the original checkpoint. If you've triggered the ship in the meanwhile, you won't need to do it any more as you replay from this new checkpoint. You're also part way towards the ship, all of which will allow you to more closely hone your approach, potentially giving you greater control over the outcome. As well as which, you'll be saving a few seconds of time on each play.
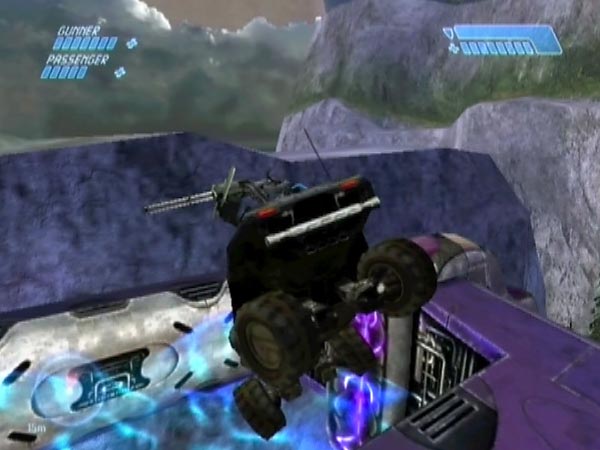
Reaching the small plateau
With suitable bouncing off the ship, it's possible to reach the small plateau just across the entrance gap, as seen multiple times in BCM389. Approaching along the right (rather than ramping up), try to bounce off the left prong of the ship and then the rear projection (which is good at giving you a kick). I think that's the best strategy. Other dynamics are possible too though, some of which you may get anyway by chance.
Sometimes you might have a bad landing and lose the hog or your Marines, but with perseverance you can get a nice safe landing.
If you then get a checkpoint from the spawning of another rockslide dropship (if those ships have been triggered), you'll be able to repeatedly have fun of some type. That's just the same checkpointing technique I used in connection with the coastal plateau across the other entrance gap. The small plateau is much less interesting though, which is why I haven't written a whole article for it. At the very least though, you can enjoy the novel views.