General battle advice
Here's some general advice on fighting the rockslide megabattle.
- Sucking in the enemy
- Dropship 4 Elites
- Tactics with Warthog buddies
- Cyborg rampage
- Sniping from afar
- Increasing the challenge
- Making up challenges or competitions
Sucking in the enemy
In the battle there may be some enemies that fail to come after you. You'll then have to go and seek them out after the main fighting - perhaps provoking them into chasing you back to an ambush spot. That can be fun of course, but obviously the main battling will be all the more intense if you can get most enemies to join in for one concerted attack. If you're continually finding that some enemies are failing to get sucked into the fighting when using a particular battle plan, try driving through or near them to get their attention beforehand, or pause somewhere along your way. Give them more chance to pick up and follow the scent, so to speak. It's usually quite easy to get most covies heading your way, though they may sometimes only arrive in a relatively slow trickle. Try different drive-in routes to your defence location, and you may find that some result in better battling than others.
Releasing the lifeboat group
There's a special group to mention. The troops from dropship 3 seem programmed to run to the lifeboat area and hang around there (although they don't always head there immediately; sometimes they hang around at their drop zone for a while). They won't leave the lifeboat area until you've entered a certain trigger area within the rockslide. That releases them from their territorial limitation, making them free to come after you.
I think the trigger area is actually the same as the dropship trigger area. If you're defending in the vicinity of the plateau they'll hence be released automatically. If you're going to defend in a more remote area, you can release them as you drive in by taking a detour through part of the trigger area. If entering the battlefield from the right entrance, you could do that by heading off to the right then curving left to go through the wide gap into the rockslide near the base of the island plateau. That gap is within the trigger area.
You can make such a detour as elaborate as you like. Sometimes I head directly there, sometimes I head a bit closer to the lifeboat before curving left. Other times I make a sharp right at the end of the entry passage and hug the cliff wall for a while, then start curving left somewhere. There's a lovely long graceful curve you can do like that, passing first between a tree and a rock near the lifeboat, then passing between a rock and the rockslide, before heading into the gap. That's my favourite, for the way the curve fits in if you get it right. It's got a nice tail-slide feel too. You can see that drive at the start of BCM2.
You could also drive all the way to where dropship 4 lands (which would still be hovering if you've entered the battlefield promptly), then do a sharp left to head between the lifeboat and a small rock, and on towards the island plateau gap in an almost straight line, passing another small rock on the way - which I generally go to the right of.
It's not necessary to pass through the island plateau gap though. A simpler release route from the right entrance is to head straight across the plain and go through the gap to the right of the massive corner rock, continuing on a short way before curving left towards one or other of the two exit gaps. As you start your leftwards curve the island plateau will be a few metres off to your right, and as long as you haven't curved too early and tightly, you'll briefly pass through the edge of the trigger area. This route can be good fun because the dropship 3 troops are often heading across your path as you go for the gap, and you can plow through them, trying to make them dive clear or trying to squash a few. Whichever route you take, have fun with it!
Dropship 4 Elites
The Elite from dropship 4 (or two Elites on Legendary) is a special case. He has a territorial limitation that keeps him over in the far end of of the battlefield once he's galloped over there. As far as I'm aware there's nothing you can do to release him from that limitation, aside from making him mad enough to chase you. As such, he's unable to attack at the plateau or anywhere in that vicinity; you can't suck him into battle like you can with everyone else. But if you like toying with Elites he can be good for a bit of fun after your plateau battling or whatever. Sometimes you'll find that a few enemies have latched onto him for support.
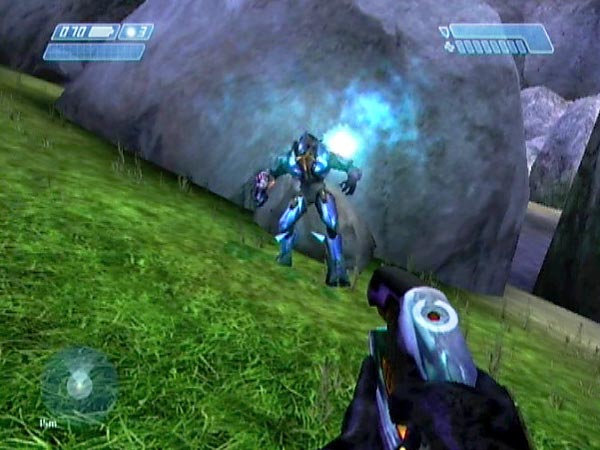
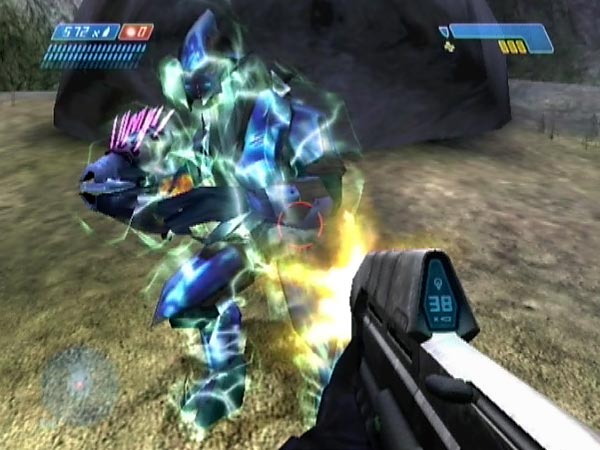
Needle surprise
There are good opportunities for giving him a nasty surprise of some type. Try this for example, especially if you've just been fighting at the plateau. Arm yourself with a needler and jump onto the island plateau. Often he'll be just beyond, blissfully unaware of your presence; and if he's not there you may be able to attract him with a bit of noise. Jump down, firing an entire clip as you go. The needles pile in thick and fast from above, and I can tell you now that he won't be too pleased about it. Then again, neither will you if you land too close to the bang!
Hot lead drilling
Another way I like to handle things is to surprise him with an assault rifle at close range, drilling him hard with hot lead. You can buy yourself extra time to wear him down by quickly moving in close enough to make him take a swipe at you. It's pretty easy to dodge, and meanwhile you'll be continuing to pile in the hurt. You may like to quit with the drilling just as he's weak enough to go into rage mode. Let him growl at you then bop him on the nose or something. Hee hee!
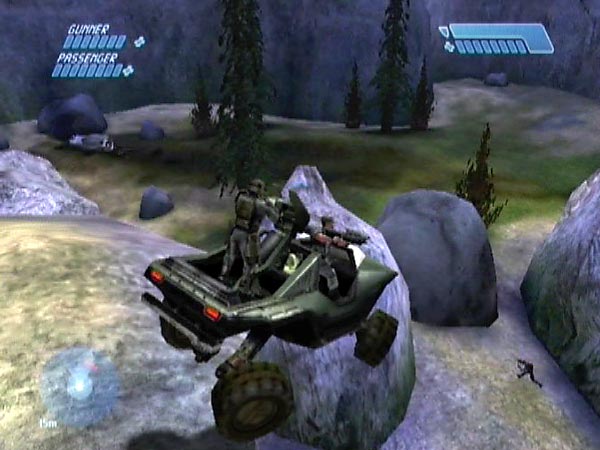
Hog comin' in!
Or maybe you'd like to go after him with Warthog buddies. Have some sport trying to squash him perhaps. For a bit of cavalier fun in reaching him from the plateau, jump the hog onto the island plateau and continue off an edge. Get the angles right and you've got a decent chance of landing upright and hearing a Marine shout "Airborne!" or whatever. There's an example of a perfect jump in BCM56 at 3:56, and there's also one near the end of BCM43.
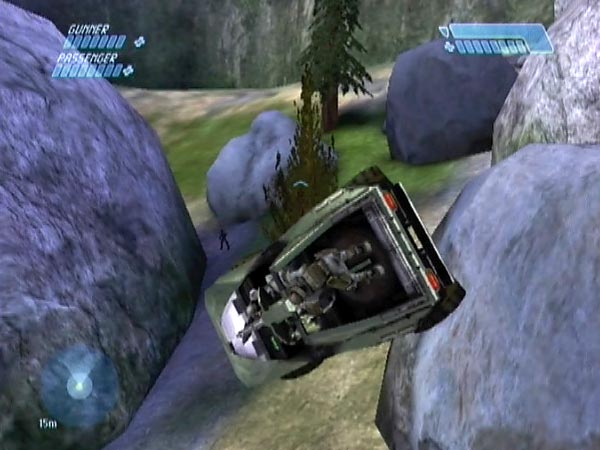
There's more than one direction you can fly off the island plateau and stand a good chance of landing on your wheels. But if you land upside down, you may get it in the neck from a rather annoyed Australian who rudely questions your ability to see out of your visor. You can help stabilize the hog by giving it a bit of spin as you make the jump.
Pre-elimination
An alternative approach to handling the dropship 4 Elite is to eliminate him before the main battling. The main advantage of this is that when you've killed all the other troops in battle, you'll get an intercom message, so you'll know for sure that the battle is over - no enemies hiding just around the corner or whatever. In contrast, if the dropship 4 Elite is still alive you can never be completely sure you've taken care of all the other enemies until you've gone to seek out and kill him, then got the intercom message. A second advantage of pre-elimination is that he'll no longer be around for other enemies to potentially latch onto for security - which they sometimes do. As such, there's less chance of enemies failing to follow you to your defence location.
There are two types of pre-elimination. One is to kill him on a play by play basis, each time you head into battle. The obvious method there would simply be to take a detour to squash him with the hog as you drive in - assuming you can identify him. The other type is to kill him prior to getting your eventual battle start checkpoint, so he's permanently eliminated from your save. If you want to do that, one way would be to give him time to gallop over to his territory, drive in alone and squash him with the hog, then drive back for a new checkpoint at the entrance - and potentially to pick up passengers again. Another way would be to snipe him from near an entrance. You could then drive back out of the passage and back in again, getting a new entry checkpoint.
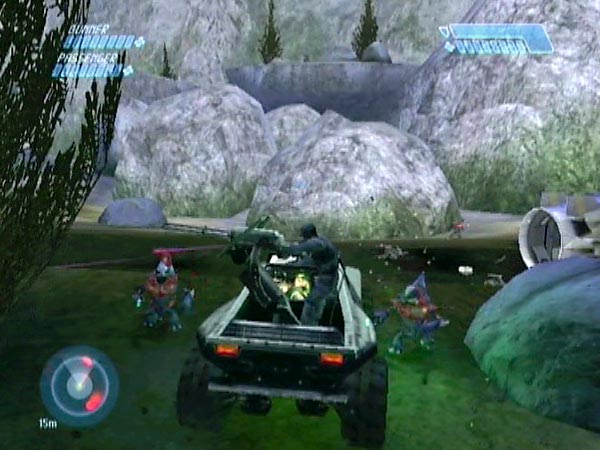
Tactics with Warthog buddies
Here's some chat relating to the use of Warthog buddies, applicable to many situations.
Slick parking and preparation
Because the enemy are often likely to be arriving in seconds, it can be quite important to park well first time, so your companions have a good line of fire (whether dismounting or not). You don't really have time for fiddling around with a three-point turn when an Elite is coming around the corner with a plasma rifle! Typically, you want to swing the hog around to just the right angle as you park.
With practice you can get both occupants dismounted as you move past them with barely a pause, before taking up your own position. In some cases, speedy preparation can make the difference between getting overrun in seconds or keeping the enemy at bay.
If you've got time, you may like to quickly drive the empty hog out of the way somewhere, so it doesn't end up blocking Marines. A Marine who rolls behind the hog is liable to just stand there uselessly as the battle continues; he's too dumb to move back into a position where he's got a clear shot at the enemy.
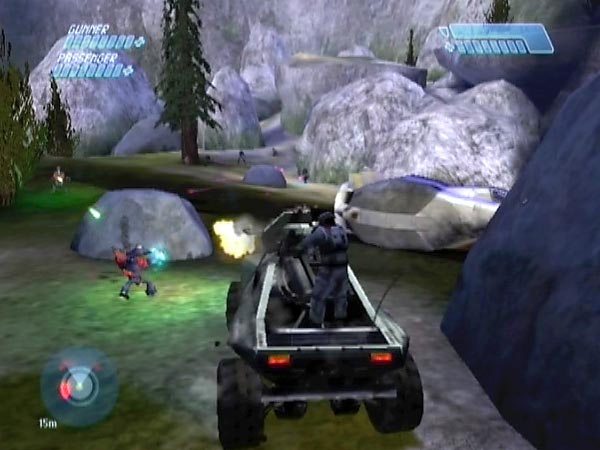
Lines of fire
The effectiveness of your defence will partly depend on your own positioning and the lines of fire you arrange for your Warthog buddies, most notably the gunner if you're letting him stay on the gun. Rather than staying near the hog, you might like to try something more imaginative like setting up a crossfire situation. For example, you might be able to tempt covies through a gap, leaving them open to your companions on one side. One advantage with crossfire is that Jackals will find it impossible to shield themselves from both lines of fire. Another strategy is to position things so that for the most part, you and a chain-gunner take responsibility for different lines of enemy approach.
Chain-gun elevation
One thing to remember with the chain-gun is that it can't aim lower than a certain angle relative to the vehicle. That's why the gunner can be defenceless against covies who get really close; especially the short grunty variety! You want to make sure the gunner is going to be able to aim low enough to cover what you intend. This is particularly relevant if you're having a gunner up on the plateau, tackling enemy coming up from the sides. It can pay to do a test run in which you take charge of the chain-gun yourself and check if the positioning will give effective lines of fire.
Protect your buddies
If you want to keep your Warthog buddies alive, you're going to need to pay special attention. The two biggest threats are these.
(1) Elites with needlers. It only takes a few seconds of their rapid fire to send a Marine up in a pretty pink cloud. Target them before they start firing. You might also try to draw their fire to yourself. At least you can dodge well, unlike your buddies. If you're really committed you could even jump in front of a Marine to take the brunt of the needles. But rather you than me!
(2) Grunts lobbing grenades. One throw and you can probably wave bye-bye to the targeted Marine, because they're pretty hopeless at getting out of the way when on foot, and they can't move at all if they're still aboard the hog. It's up to you to be alert and keep the Grunts off; and to watch your ammo to make sure you don't run out at just the wrong moment. If you hear "Everybody duck!" or whatever, you'd better have good reflexes because you've only got a moment to take the grunty critter down before he throws.
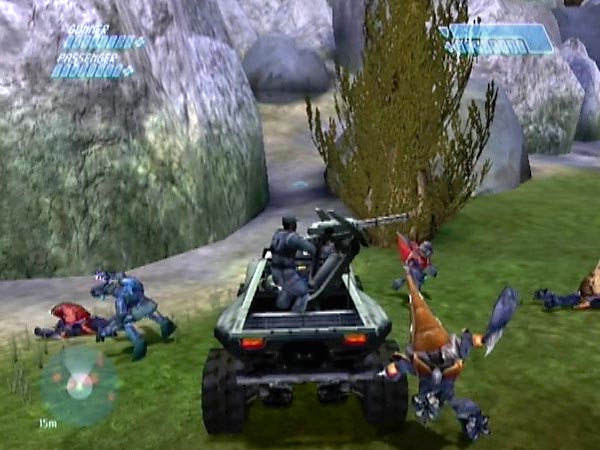
Cyborg rampage
With any battle plan executed from a static location, you'll find that the Elites tend to arrive relatively early on, giving you the most intense and life-threatening phase of the battle. Out of necessity you'll smite them down of course, and pretty soon there are just Grunts and Jackals to deal with. They can still be a serious threat though, especially if they've got your shield bleeping. But when you're in good nick and their numbers are low enough, you might like to break from your defence position and go on a free-ranging cyborg rampage to mop them up with extreme prejudice. Good fun! It's at times like this that I like to do a bit of Grunt or Jackal launching, courtesy of a couple of plasma grenades attached to their heels or rear ends, heh heh!
Sniping from afar
If you like sniping with the sniper rifle or pistol, the rockslide megabattle provides quite a shooting gallery, especially if take care to maximize the enemy count. For example there are great sniping possibilities in the Far area defence and Lifeboat area defence, where you have a horde of enemy coming at you across a plain. The Island plateau defence is another excellent sniping situation. But aside from any specific plans such as those, you can always just move around the periphery of the rockslide area looking for opportune targets - possibly trying to remain undetected. See here for advice on getting a sniper rifle topped up, ready to take into battle.
Increasing the challenge
Here are some suggestions for bumping up the challenge, within a given difficulty level.
Lose the gunner
One thing I almost always do on Heroic after parking up, is make the gunner dismount. In most situations he's otherwise just too powerful, making things too easy. I also make the passenger dismount, to give him mobility and to make things more realistic.
Impose weapon limitations
Another idea is to limit yourself to the assault rifle, which puts you at a pretty severe disadvantage when faced with an Elite's plasma rifle. Or limit yourself to only one weapon. You could also limit yourself to a certain number of grenades, or forbid yourself any plasma grenades, or suchlike. On Heroic I often try to defend the plateau with just an AR and frag grenades, which is quite a challenge against an intense attack.
Go solo
You could leave any Warthog buddies behind, at the expense of also losing their contribution to the atmosphere. But it's perhaps not much handicap if you were only going to let them fight on their feet, as they're so ineffective - except for when they finally get around to lobbing a few grenades and manage not to fumble them.
No squashing allowed
You could deliberately avoid running over any enemies as you drive in. Actually, running over Grunts is dangerous anyway, as you can easily be left with a plasma grenade stuck to your bodywork. Satisfaction aside, it's simply not worth the risk if you're playing seriously. But there's nothing to stop you having evil fun making enemies dive clear. Don't you love those cute Grunt bellyflops?
Making up challenges or competitions
With a bit of imagination you can easily make up challenges for yourself, or competitions for a group of you playing one at a time. Here are some ideas.
Scoring systems
Choosing a particular battle plan, you could make up a scoring system based on the number of survivors and your remaining health (e.g. add the number of survivors to the number of health bars you're left with). As a single player, you could then do a handful of battles and take your average score as the final result. Or, you and a rival could each do that, and whoever gets the highest average score wins.
Time attack
How quickly can you dispatch the enemy? Impose whatever limitations you want; e.g. you could limit yourself to a pistol, disallow grenades, leave the Warthog behind, whatever. You could make the Warthog occupants dismount, then drive to a particular location before allowing yourself to start your carnage. You could demand that you survive with perfect health.
Mow 'em down
If you like mowing down the enemy in the Warthog (and who doesn't?), you could have a challenge based on how quickly you can mow down the entire enemy contingent. Bonus points if a buddy shouts "Roadkill!" or complains that he "just had this thing washed".
Warthog racing
Another Warthog idea is to do some racing, either against the clock or another person. You can decide the route, then do ten laps or something. Include a huge jump off the island plateau to add to the fun. All this while, the enemy will be taking potshots at you; and probably getting quite confused as you orbit around. To reward skillful driving, try to make the route include some tricky weaving or something.