Lifeboat area defence
Posted February 9th 2005, expanded September 22nd 2013
Associated movies
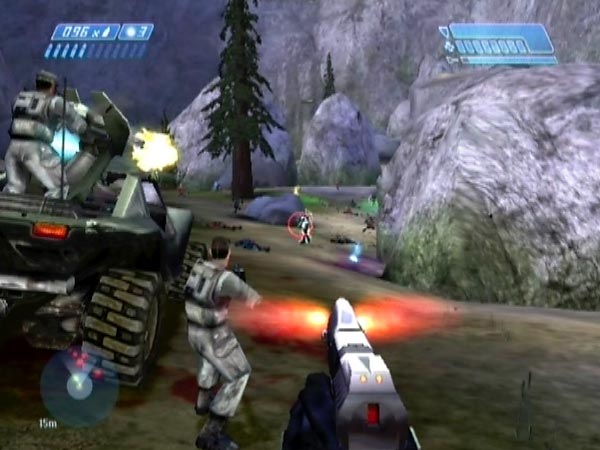
Starting with a far area horde set-up or modified far area horde set-up, or something along those lines so most or all covies are initially near the end of the rockslide, drive over near the lifeboat and defend from there against the mass of enemies heading your way.
The covies should mostly approach from along the side of the rockslide, but some may go inside and end up approaching you from the side or rear, namely through the plateau base gap; so you'd better keep wary of that to avoid getting surprised, and to protect any Marines you've got with you. If you bring along a chain-gunner, it can add to the atmosphere as he does his stuff and calls out various amusing lines while dishing out the pain.
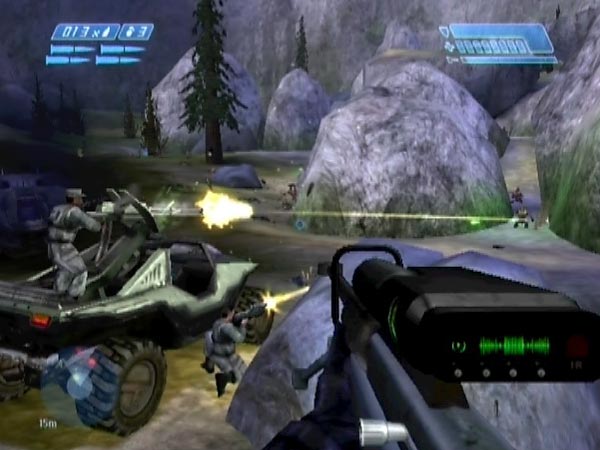
Some Jackals may hang back and fire long-range plasma balls, so you may need to venture out from your basic defence area to get them, depending on what weaponry you wish to use. Indeed, you should feel free to roam quite a bit in dealing with the attack. Just consider the lifeboat area your base. In particular you might like to get aggressive and head out into the enemy at some point, e.g. after dealing with the Elites to reduce the threat level.
Excellent for sniping!
The sniper rifle and pistol are the obvious weapons for bringing down enemies at distance before they get within firing range, but with half a dozen Elites bounding towards you, you'll still have to work fast. This has to be one of the best situations I've come across for using the sniper rifle under pressure.
I quite like to use the top of the lifeboat as a sniping platform. It's easy to jump up and you get a nice view of the approaching horde, though on the negative side you tend to get a lot of plasma balls heading your way and there's not a lot of surface for dodging about on. It may be best if you've got chain-gun support, to take some of the covie focus off you.
The sniper rifle can make things a bit easy (as long as you initially work fast to avoid getting overrun), but you can always make things harder by limiting the number of rounds you can use. For example you could limit yourself to a dozen rounds, in which case you'll need to be a lot more careful and selective with your sniping, and other covies will need to be dealt with using other weaponry.
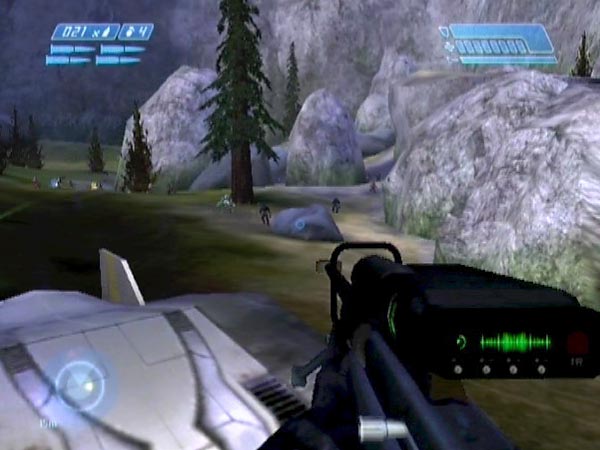
Defending deep
To give yourself more time to work on the approaching mob, and in particular to snipe the charging Elites, defend deep, positioning yourself further back near the cliff wall. It's excellent for a fairly static defence based on the sniper rifle. With a deep position you'll potentially also have a good view of the plateau base gap, through which some enemies are likely to approach.
Among the options (three of which are shown in BCM86), there's a smallish rock you can jump onto for an elevated view, but you could also use it for cover. Its geometry varies, and in some cases it can be low enough to shoot over.
If you've got a chain-gunner, you may like to try putting him in a more advanced position. The enemies will tend to be quite focused on him (and on the passenger if any, who you could get out of the hog before departing), and it's fun to shoot them when they're preoccupied like that.
Up on the lifeboat rock
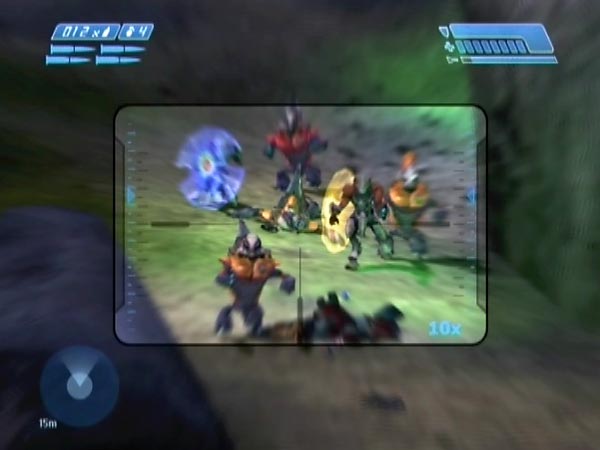
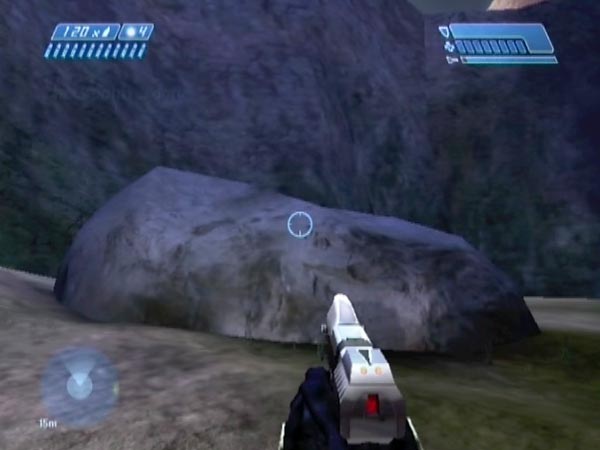
A special case of defending deep is to be up on top of what I call the 'lifeboat rock', namely the large rock between the lifeboat and the cliff wall. In particular you can enjoy some marvellous sniping up there.
Getting up on the rock quickly can be important though, in view of the speed with which the leading Elites head up the battlefield. If you don't get to work fast on them, you can be very quickly overrun, a situation from which you're unlikely to recover. It can be useful to have a chain-gunner to slow up the enemy charge and give you a bit more time; especially if you had to stop off at the lifeboat to pick up a sniper rifle.
Along with other rocks, the lifeboat rock's geometry will have been randomized at the last loading point, back in the tunnel leading out from the underground bridge. I believe there are five different types you can get, three of which are easily accessible. Here are the details.
One is very low - about the height of the lifeboat - and you can easily jump up onto it pretty much all the way around. There's a lot of space for moving about on - good for dodging plasma balls or whatever - and you can even jump back and forth between it and the lifeboat's roof, which is kind of fun.
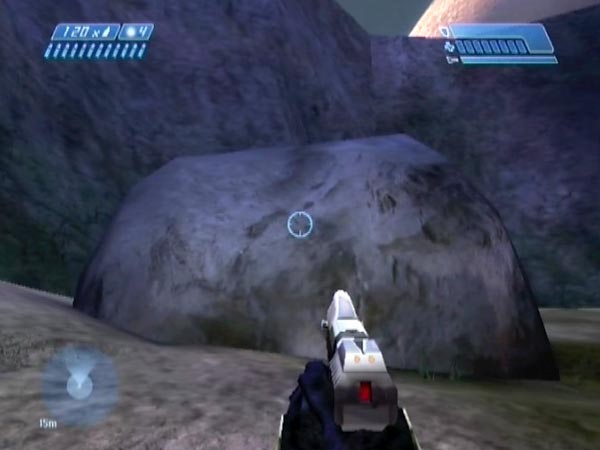
Then there are two nice rocks which give you a considerably higher view which you may prefer. The high view certainly has more novelty than with the low rock, and may also give you a slight advantage in being able to target covies trying to hide from you.
One of these I call the jump-spot rock, because you can access it by jumping up onto a particular small spot on its surface, the slope of which is just shallow enough to gain purchase on. Once you know the spot and have practiced a little, you should usually get up first time with no trouble. I occasionally get it wrong and need another go, but at least it doesn't take long. The spot is a triangular patch on the upper left in the picture shown here, and you can see me using the rock in BCM86.
The other, which I call the slope-back rock, has a sloping back where you can easily get up. Both of these higher rocks give you some room for dodging about on, and can also give you cover while still letting you shoot. Ideal!
The remaining two rocks are high and steeply sided all the way around, and you'd need some sort of grenade jump to get up. That's not very convenient, but it could potentially be done quite quickly and still leave you with good health, if you've put in a bit of practice. With one of these rocks I was able to get up by using a plasma grenade combined with a frag (a single grenade wasn't quite doing it), and with the other I was able to get up with a plasma grenade jump off a Warthog.
Although all five rocks are accessible, it would obviously be good to make sure your save has one of the three easily accessible rocks. That's pretty simple to do; just see my general advice about rock geometry. Note: A bit later on, I've now realized that the five designs are actually the same as for the central rock up on the Marine plateau; a rock I talk about in that rock geometry section.
Other weapons
Thus far I've dwelt somewhat on the excellent sniping possibilities of this defence plan, but you don't have to use a sniper rifle of course. As with the far area defence, needler plus pistol makes a great combo for example, and in particular the needler is good for taking out the Elites if you use it well. It can be fun even to needle from high up on the lifeboat rock.
With chain-gun support I've also had great fun initially using a pistol until I can grab a plasma rifle from an Elite - as seen in BCM85.
Handy supplies
A handy aspect of the lifeboat area is the presence of various supplies, and in particular there are two medkits to instantly restore your health in battle (or after dismounting from the hog, bearing in mind that you may well have lost health in cruising through the covie horde). There's also a sniper rifle, pistol, AR and frags.