Inner rise defence
Associated movies
- BCM119 - Heroic; Inner rise defence with chain-gun support, x3 (6:28)
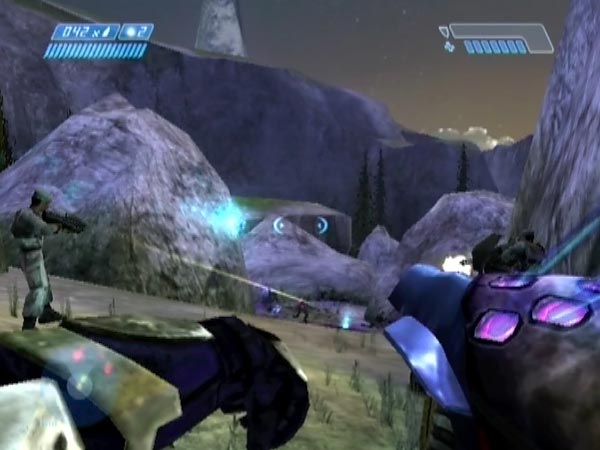
Just after the top pass (the first narrow gap around the left cliffside, up the hill from where dropships 1 and 3 hovered), there's a large sloping expanse of ground hemmed in by rocks but with six narrow entrances for the enemy. I call it the inner rise. Try to fend off the enemy as they arrive. Some may enter through the top pass, especially if they saw you drive in that way, but enemies that were initially on the lifeboat side of the battlefield will mostly filter up through the rockslide and approach near the bottom of the expanse.
You can have a great time holding out in this area, and if ever there was a place for using your motion tracker, this is it. Watch for those nasty red dots to judge where enemies are coming from, and be ready to let 'em have it.
Depending on how the enemy were spread out, you could either be in for a hectic and intense attack such as seen in BCM119 (I used a far area horde set-up for that), or a more leisurely affair in which they arrive in a more piecemeal way - which can likewise be enjoyable. But as you're somewhat hidden, it's also possible that some enemies might lose track of you and need drawing into the area specially.
Incidentally, the dropship 4 Elite (or Elites) won't attack here, so you could either kill him on your way in, or do it after, or just not bother.
Entry routes
Of course, you don't have to drive in through the top pass; there are two other gaps you could use, and it's possible that the enemy attack dynamic could be more satisfactory if you use one of those, because as usual your route will affect how the enemy arrives. With the save I used for BCM119 for example (in which the covies were already collected in quite a big mob near the far area), I favoured using the entrance below the top pass, otherwise there would tend to be more covies entering from the top pass, whereas for I prefer to have them mostly entering from lower down.
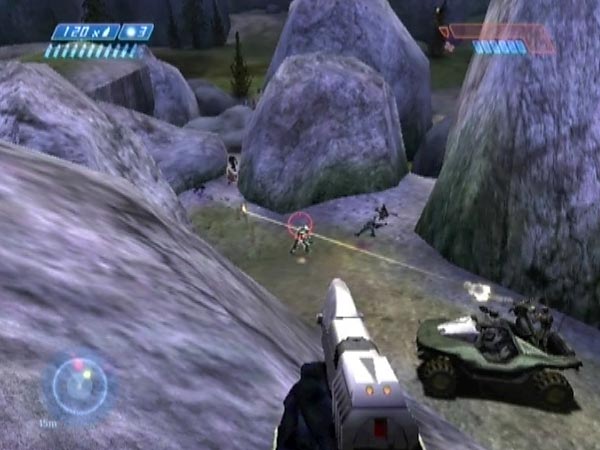
Actually it's even possible to reach the rise by driving the hog off the island plateau, after jumping across to it from the Marine plateau (see pic). Aerial insertion, in other words. There's a risk of overturning, but with a bit of practice to find how to do it best, you can minimize that. That said, things can be fun even when the hog overturns and the passengers spill out!
Chain-gunning fun
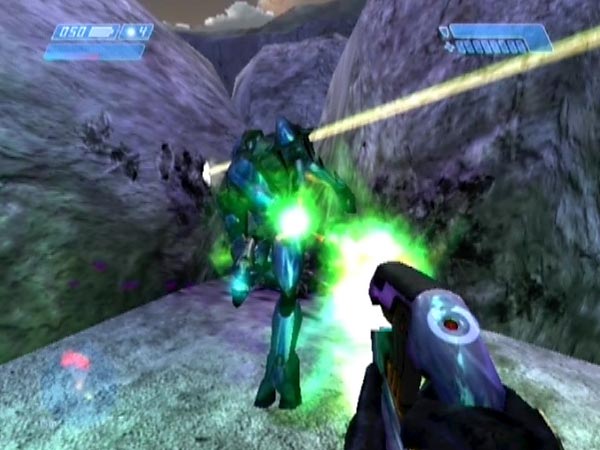
You can have quite an interesting time trying to survive using a chain-gun. With the covies potentially coming from all around, you have to really be alert to their arrival by using your tracker and your ears, and try to get them early - especially Grunts who might quickly throw grenades and ruin your day (and then there's the danger of plasma balls from Jackals of course). Your Marines can be some help of course - but usually not much! Pay careful attention to your positioning; you want to be able to cover every entrance.
Bottom defence
As mentioned, enemies that start on the lifeboat side of the battlefield will mostly approach near the bottom of the expanse. Rather than staying back near the cliff wall, you can have good fun taking up an advanced position down at the bottom to fend off those enemies at close quarters as soon as they show their ugly faces. Heck, sometimes even before they've shown their ugly faces, bearing in mind that you can use sound or your motion tracker to place a welcoming grenade in their path. If you want to maximize the number of enemies approaching near the bottom, try to get most enemies to be in the lifeboat side of the battlefield beforehand.
Chain reaction mischief
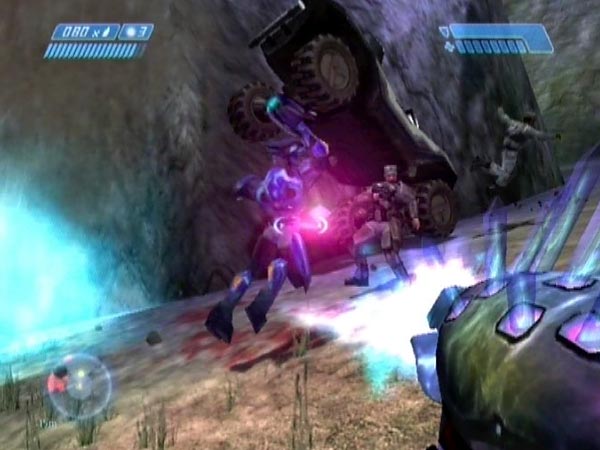
With that bottom defence there's a particular entrance the enemies tend to favour; the one right at the bottom. By lurking there and killing lots of Elites and Grunts at close range as they try to come through (use plasma weapons or an AR), you can build up a mass of loose grenades. When a few more baddies approach, set off a massive chain reaction and watch bodies go flying!
Or try it like this. Park a Warthog near that entrance and man the chain-gun. Massacre lots of Elites and Grunts as they show themselves through the entrance, then set off your chain reaction. If you drive the hog partly through the gap beforehand so it's closer to the blast, the hog can go flying too, and in truly spectacular fashion! Mind you, it can be difficult to do the required slaying if covies are also attacking from the sides a lot.
Here's another approach to doing much the same thing. Initially park the hog so it's plugging the entrance. Use hand weapons to kill Elites and Grunts as they queue up on the other side. They fire at you but the hog can give you complete cover. When you've killed plenty, set off your chain reaction.
Way up high
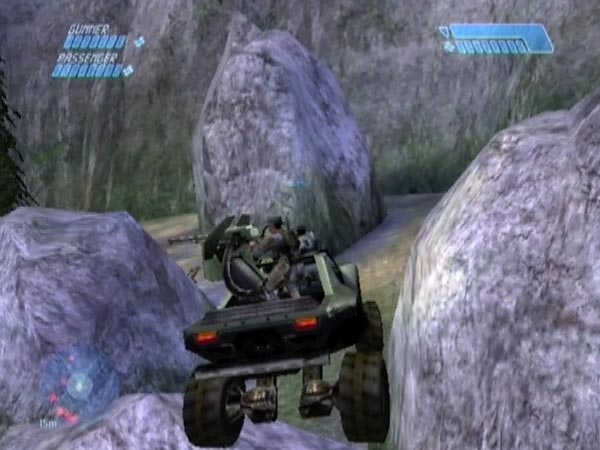
Imagine you're in the inner rise with your back against the cliff. To your left there's a huge rock, close to the cliff (you've doubtless squeezed a Warthog through that gap many a time). The great thing is, it's possible to get up on that rock for a novel high defence position!
I think the first way I got up was by parking a Warthog close so I could jump onto the rock's low corner area from the bonnet; and later I used a grenade jump from the ground to reach that same foothold. But actually you don't need either of those compromising methods. You can just use a normal jump off the ground if done right. From near the start of the gap (where the ground is relatively high) and with your back to the cliff, make a running jump up towards the pointy corner. Make contact on a steeply sloping face just below, and your momentum can carry you the rest of the way. No crouch is needed to try and get extra clearance, though you may find it easier to use one. From here you can easily proceed to the top.
Also there's another place you can get up, as follows. Just through the gap there's a steep bit of slope you can simply run up, then you can make a right turn to continue to the top; no jumping involved! This way is easier but will cost you an extra second or two to get there.
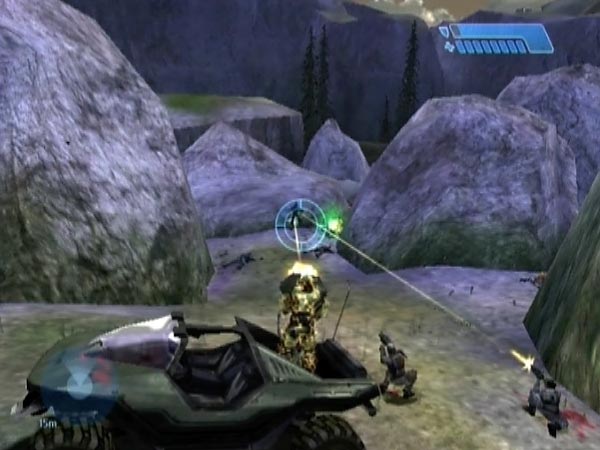
There's a fairly flat area on top of the rock, and you can also grip various angled faces, so there's actually quite a large area for you to move around on during the battle. You can get some cover too if you back off appropriately. From up there it'll probably be harder to defend any supporting Marines if you have any (it's probably best if you have), but trying to do that is part of the fun.
You've got a great view which you can use to your advantage, and there's some good grenading to be had. As for weapons, the sniper rifle and pistol are the obvious choices. Next would perhaps be the plasma rifle, due to the relatively high shot speed compared to the other covie weapons. The plasma pistol and needler can both be effective too, but don't bother taking an AR.
Extra Marines
Let me also mention, this is a good area for setting up extra Marines to help out. I plan to spend a bit of time on that later, and you can expect a movie showing the squad in action!